How to tie a tie
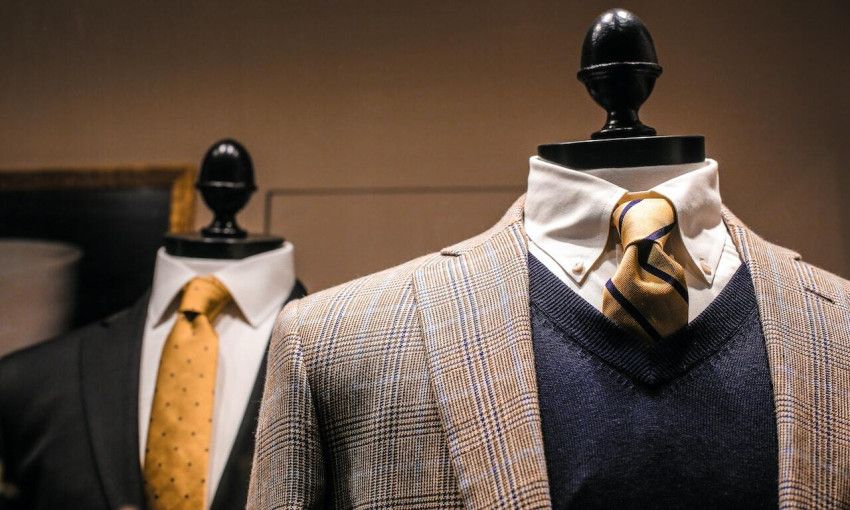
You completed your formal outfit by buying a good looking tie, but the next problem arises: how do you tie a tie? The last thing you want is your tie to make you look funny at an important job interview or some other formal occasion. In this blog we will share everything you need to know to tie the perfect tie, so make sure to keep on reading!
Every man should have a formal outfit in their wardrobe, even when you don’t have a job that requires you to wear a suit. There’s many occasions where formal clothing is needed, and a tie is an important part of a formal outfit. Therefore, tying a tie is a skill that every man should know. It is not difficult, but it does take some practice. Firstly though, what kind of tie suits you? If you are a large man, a slightly wider and longer tie is the right pick. However, if you are slim a thinner and perhaps shorter tie is the better choice.
Different kinds of knots
So how do you tie a decent knot? It depends mainly on the collar of your shirt, but also on what type of knot you find easy to make and what suits you. Generally speaking, there are three types of tie knots, namely: The (whole) windsor, the half windsor, and the 'Four in Hand'. We will share all you need to know to pick the right knot.
Four in Hand
The Four in Hand knot provides the narrowest knot of all the various tie knots and is a smart solution if there is not that much space between the left and right side of the collar of your shirt. Also, this knot is also relatively simple to tie and thus easiest to learn for the novice tie wearer. If you master this knot, you can wear a nice, neatly knotted necktie that makes you look neat and presentable at a business occasion or client. However, it must be said that this knot does go best with the narrower type of tie, a wide tie is less nicely tied with the Four in Hand.
- Start by placing the necktie around your neck, with the wide end extending about 12 inches below the narrow end.
- Cross the wide end over the narrow end, and then tuck it underneath.
- Bring the wide end back up, and then poke it through the loop that has been created.
- Grab the wide end with your fingers, and then pull it through the loop until it is tight.
- Adjust the knot so that it is centered, and then use your mirror to check that the tie looks symmetrical.
The Half Windsor
Compared to the Four in Hand, the Half Windsor is a step-up in difficulty. However, this tie is suitable for almost any type of tie; thin or thick. The Half Windsor knot forms a sort of triangle at the top of your tie and pairs relatively easily with any type of shirt. As a result, it has become the most common knot for any tie wearer. Therefore, this is a knot you must master!
- Start with the tie inside out and upside down. The wide end of the tie should be on your right side, and the narrow end on your left.
- Cross the wide end over the narrow end.
- Bring the wide end up and over the top of the narrow end, then under and through the loop that has been created.
- Now pull the wide end down through the loop.
- Put your index finger inside the resulting loop and hold on to the narrow end of the tie.
- Use your other hand to bring the wide end around and behind the narrow end.
- Now bring the wide end up and over the top of the narrow end again.
- Bring the wide end down through the loop once more.
- Now you can adjust the knot by pulling on both ends of the tie. The finished knot should sit in the middle of your shirt collar.
Windsor
The Windsor, or Full Windsor, is the knot of all knots among tie wearers. Nowadays, many men's shirts, especially those without buttons, have wide collars. This means that the left point of the collar and right point of the collar are far apart. In this case, there is room for this beautiful, wide knot. This is the trickiest knot of the three and requires some practice to master. Also, keep in mind that thicker ties are more suitable for a Full Windsor than thinner ties.
- Start with the necktie lying flat against your chest, with the wide end on the right side and the narrow end on the left.
- Cross the wide end over the narrow end, and bring it up through the loop between your neck and your collar.
- Now bring the wide end over the top of the narrow end, and tuck it underneath.
- Bring the wide end back up through the loop, and then down through the hole that has been created.
- Tighten the knot by holding on to the narrow end and pulling on the wide end.
- Once the knot is tight, adjust it by sliding it up or down the necktie until it is in the desired position.
Read more
Curious about more fashion tips? Check out our other blogs!
- The history of sneakers
- How to care for your jeans
- Ankle boots for women for every day
- How to polish your shoes the right way
- How to combine flat shoes with a dress of skirt
- How to pair boots with a dress
- 10 helpful tips against sweating
Get inspired, compare and purchase clothes and shoes safely and easily online at Dressed.com.
Dress like your worth: make your outfit look exclusive
A black belt: always the right choice!