Step-by-step guide to cleaning leather shoes
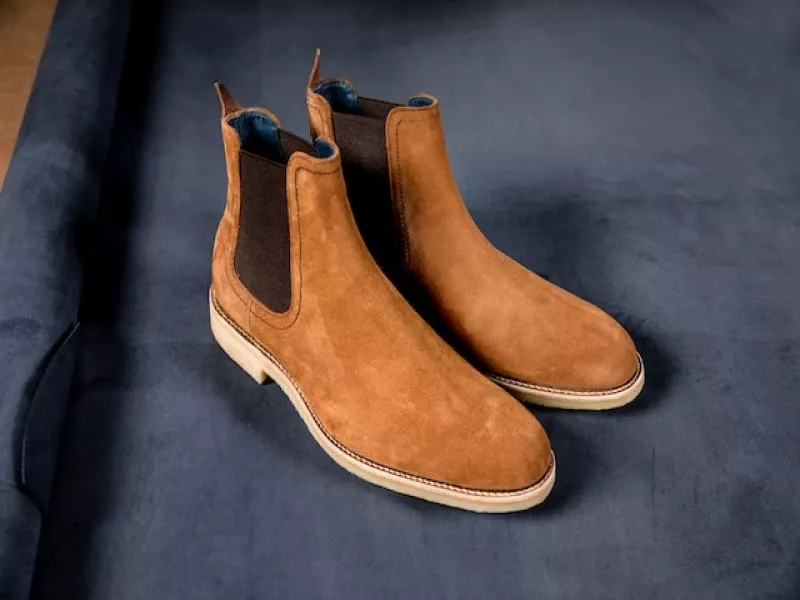
You want to clean leather shoes: how do you do that? We share the step-by-step guide you can use for this. It's important to clean leather properly and then treat it neatly. This keeps the leather in good condition and keeps it supple.
Are you planning to buy new leather shoes on dressed.com? It’s good to read this blog beforehand, so you can maintain that fresh new look on your leather shoes for as long as possible. There are multiple types of leather, so make sure to tailor your cleaning accordingly. Is it smooth leather or another type? Calf leather or snake leather? Fundamentally, leather is always the same. Its finishing requires a cautious approach. Always test the following steps on a less noticeable area. Test for any strange effects to make sure you can apply this to the rest of the shoes.
What is leather?
To clean leather properly, you first need to know what this material actually is. Leather is essentially the skin of a cow or another animal. The material is thoroughly cleaned and treated to give it the beautiful appearance you desire. This can be in various shades of brown, black, and gray, and of course, other colors. The "tanning" of the leather ensures its good quality, luxurious appearance, and the ability to use it in shoes.
Tip: Want to clean faux leather? Keep in mind that this is not real leather, but rather artificial leather. You can also clean this material with our step-by-step guide. The big difference is that you don't need to nourish faux leather. The material is artificial, so it retains its quality by itself. Unfortunately, it usually doesn't have the unique appearance of leather. Instead, the material remains "static," so faux leather shoes always look the same.
How to clean leather shoes
If you have leather shoes, you want to clean and maintain them as well as possible. You can do this with our step-by-step guide. We explain how to properly clean the shoes, from the seams to the larger parts. Then you clean the shoes and make sure to treat them again for long-term use.
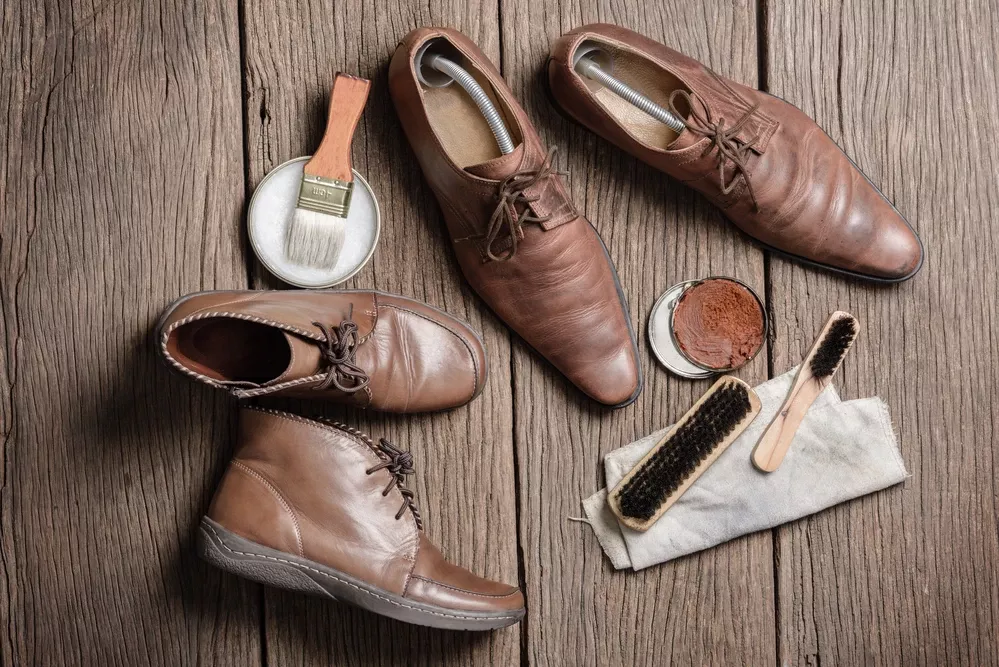
Follow these steps to clean your leather shoes
- Brush the seams
- Use a damp cloth and some soap
- Shoe polish on the leather
- Use the step-by-step guide to clean leather shoes
1. Brush the seams
Start by brushing the seams of the leather shoes. Before you can start, remove the laces and any buckles. Only in this way will you have enough space to properly clean the shoes. You can put the laces in the washing machine while you clean the rest of the shoes with our guide. Use a soft brush to remove dry dirt from the seams. Also, look for mud or salt residues to remove them. Dirt can easily get stuck between the seams.
2. Use a damp cloth and some soap
You can clean the leather itself with a damp cloth and a little soap. Do not use aggressive cleaning agents, just some hand soap or all-purpose cleaner. Test this first on an inconspicuous spot to make sure it doesn't react unexpectedly with the leather. Clean the shoes by rubbing them with a clean cloth dampened with warm water. You can optionally use leather cleaner to make sure it is suitable for the shoes you want to clean. If you clean the leather well, it will be easier to apply shoe polish later.
3. Shoe polish on the leather
To nourish the leather again, use shoe polish. This allows you to restore the color. Pay close attention to the color of the leather and choose polish that matches it as closely as possible. Work on any scratches and other damages. By applying shoe polish, you ensure that the shoes look like new again.
4. Use the step-by-step guide to clean leather shoes
We are happy to explain how to clean leather shoes and how to clean suede with our step-by-step guides. Discover how to get started, which materials to use, and how to keep your shoes looking good for longer.
After you ordered your new leather shoes from the more than 100 online stores we partner with its important that you do whatever you can to keep them clean. Use the above step-by-step guide to keep them clean and looking new for as long as possible.
The best shoes for large feet
Step-by-step guide to cleaning suede shoes